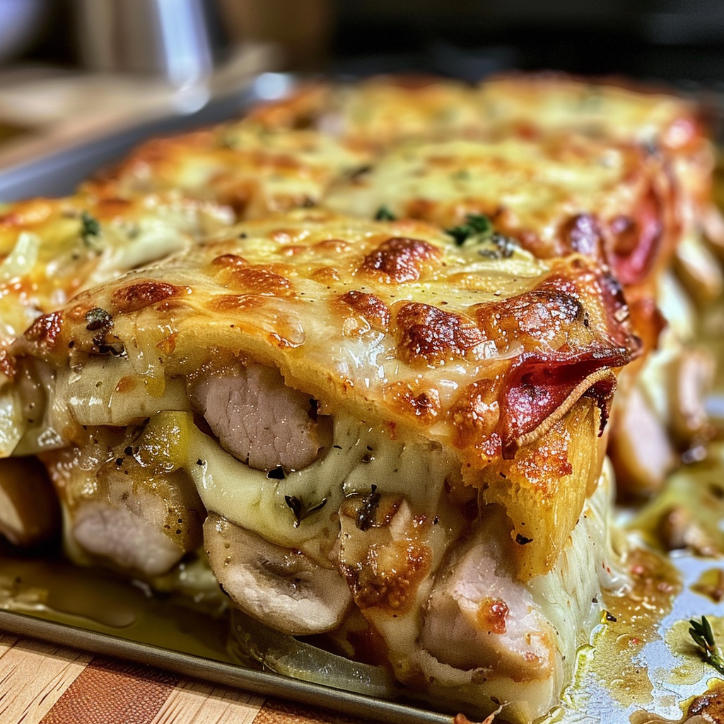
Why You’ll Love This Freezer-Friendly Masterpiece
This recipe delivers a complete, balanced meal in a sweet pepper. The filling is juicy, cheesy, and flavorful with garlic and Worcestershire sauce. Make a big batch to cook once and eat multiple times. It saves time, money, and stress on busy nights. These peppers are naturally gluten-free, high in protein, and loaded with vitamins. They reheat perfectly from fridge or freezer, keeping texture intact. Enjoy wholesome comfort food without hours in the kitchen.
Ingredients for Your Freezer Stash
- 6 large bell peppers (any color; mix red, yellow, orange for sweetness)
- 1 lb ground beef (or ground turkey for leaner option)
- 1 small yellow onion, finely diced
- 3 cloves garlic, minced
- 1 cup cooked white or brown rice (great for leftovers)
- 1 can (15 oz) tomato sauce, divided
- 1 tablespoon Worcestershire sauce
- 1 teaspoon Italian seasoning
- 1/2 teaspoon salt, plus more for water
- 1/4 teaspoon black pepper
- 1 1/2 cups shredded mozzarella cheese, divided
- 1/2 cup shredded Parmesan cheese
- Fresh parsley, for garnish (optional)
Step-by-Step: How to Make Freezer Friendly Stuffed Peppers
- Prep the Peppers: Preheat oven to 375°F (190°C). Boil a large pot of salted water. Cut tops off peppers, remove seeds and membranes. Boil peppers for 3-4 minutes until slightly softened. Drain upside down on paper towels.
- Cook the Filling: In a large skillet over medium-high heat, cook ground beef and onion until browned and onion is translucent. Drain excess grease. Add garlic and cook for 1 minute until fragrant.
- Combine the Mixture: Remove skillet from heat. Stir in cooked rice, half of tomato sauce (about 1 cup), Worcestershire sauce, Italian seasoning, salt, and pepper. Mix in 1 cup mozzarella and all Parmesan until well combined.
- Stuff the Peppers: Spoon filling generously into each par-boiled pepper, packing gently. Place upright in a 9×13 inch baking dish.
- Prepare for Baking or Freezing: Pour remaining tomato sauce over tops. To bake now, cover with foil and bake for 30 minutes. Uncover, sprinkle with remaining 1/2 cup mozzarella, and bake 10-15 minutes until bubbly and golden.
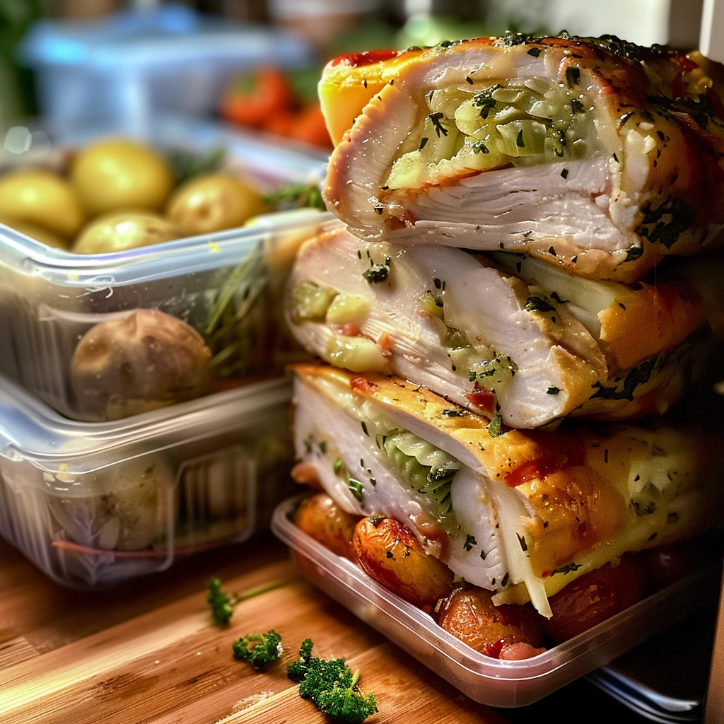
- For Freezing: Do not bake. After stuffing and topping with sauce, cool completely to room temperature. Cover tightly with plastic wrap, then aluminum foil. Label with date and contents. Freeze for up to 3 months.
- Reheating from Frozen: Thaw overnight in refrigerator, then bake as directed. For quicker option, bake from frozen, covered, at 375°F for 60-70 minutes, adding cheese for last 15 minutes.
Expert Tips for Freezer Meal Success
- Don’t Overcook the Peppers: Par-boil for only 3-4 minutes. They continue cooking while baking.
- Cool Completely Before Freezing: Hot food in freezer causes ice crystals and texture issues. Be patient.
- Use the Right Container: Glass baking dish works best, going from freezer to oven safely. Metal pans may impart metallic taste to tomato sauce.
- Double the Batch: Make one to eat now and one to freeze. Same work, twice the payoff.
Variations and Substitutions
- Protein Swap: Use ground Italian sausage for spicier filling, or ground chicken or plant-based meat.
- Grain Swap: Quinoa or cauliflower rice add different texture and nutrients.
- Add Veggies: Finely chop mushrooms, zucchini, or spinach to sneak in extra vegetables.
- Make it Mexican: Use taco seasoning instead of Italian, swap mozzarella for pepper jack or cheddar, top with salsa and cilantro.
Serving Suggestions
These stuffed peppers are a complete meal but pair well with simple sides. A crisp green salad with light vinaigrette contrasts the rich filling. Garlic bread or crusty baguette soaks up extra tomato sauce. For low-carb, serve over steamed zucchini noodles or with roasted asparagus. For family-style dinner, arrange peppers on a platter and let everyone serve themselves.
Frequently Asked Questions
Can I freeze the peppers after they’ve been baked?
Yes. Cool leftovers completely, store in airtight freezer-safe container. Reheat by thawing overnight in fridge, then warm in microwave or 350°F oven until heated through.
How long can I keep these in the freezer?
Properly stored, they maintain best quality for up to 3 months. After that, they remain safe but may suffer freezer burn or texture changes.
My peppers are watery after baking. What did I do wrong?
This happens if peppers weren’t par-boiled enough or filling was too wet. Drain ground beef well, cook rice until liquid fully absorbed, and drain peppers thoroughly after boiling.
Final Thoughts
Learning how make freezer friendly meals has transformed busy weeknights. It’s a way to show love even on exhausting days. Try these Cheesy Chicken and Rice Stuffed Peppers—they’re future peace of mind waiting in your freezer. Cook with love and don’t fear the mess; that’s where the magic happens.
👉 Enjoy these Cheesy Chicken and Rice Stuffed Peppers—a warm, cheesy hug on busy nights. For more cozy dinner ideas, try my Hearty Chicken Noodle Soup. For cheesy indulgence, this Baked Ziti with Sausage is a crowd-pleaser. For a simple one-pan meal, try Lemon Herb Roasted Chicken and Vegetables. Join us on our Facebook Page and Facebook Group — and follow on Pinterest for daily inspiration!
Main Course · American · Medium
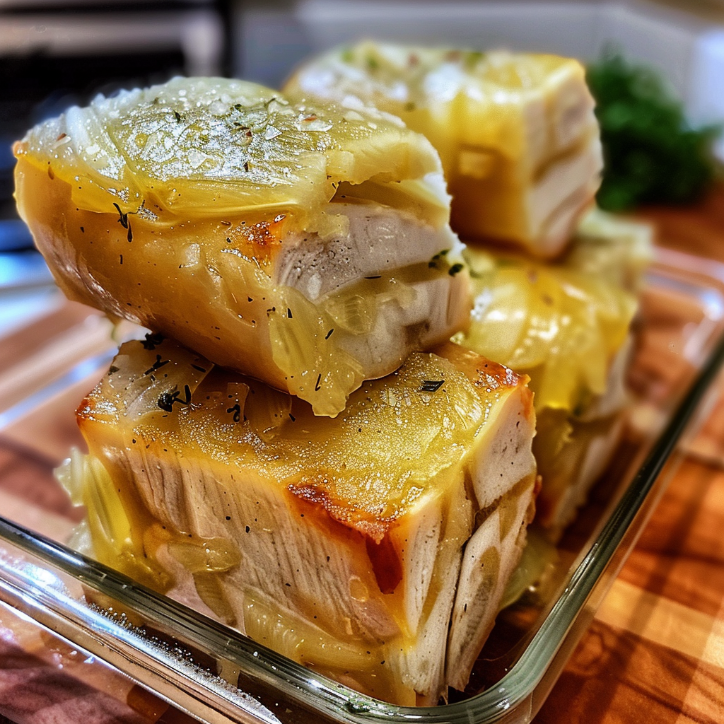
Restaurant-Style How Make Freezer Friendly
These freezer-friendly Cheesy Chicken and Rice Stuffed Peppers are a hearty, delicious meal prep hero. Packed with protein and flavor, they're perfect for busy weeknights.
Keep the screen of your device on while you follow the steps.
- Preheat oven to 375°F (190°C). Boil a large pot of salted water.
- Cut tops off peppers, remove seeds. Boil peppers for 3-4 minutes until slightly softened.
- In a skillet, cook ground chicken and onion until browned. Add garlic and cook for 1 minute.
- Remove from heat. Stir in rice, half of the tomato sauce, Worcestershire sauce, Italian seasoning, salt, and pepper.
- Mix in 1 cup of mozzarella and all of the Parmesan cheese.
- Stuff the peppers with the filling and place in a 9×13 inch baking dish.
- Pour remaining tomato sauce over the peppers. Cover with foil.
- Bake for 30 minutes. Uncover, sprinkle with remaining mozzarella, and bake for 10-15 more minutes until bubbly.
What Makes This Recipe Special
- ✓Quick and easy to prepare
- ✓Packed with flavor and nutrition
- ✓Perfect for any occasion
- ✓Customizable to your taste preferences
- ✓Budget-friendly ingredients